The Science of Perfect Hard-Boiled Eggs: Understanding and Preventing the Green Ring
A comprehensive guide to the chemistry behind egg cooking and professional techniques for achieving consistently perfect results
The Mystery of the Green Ring
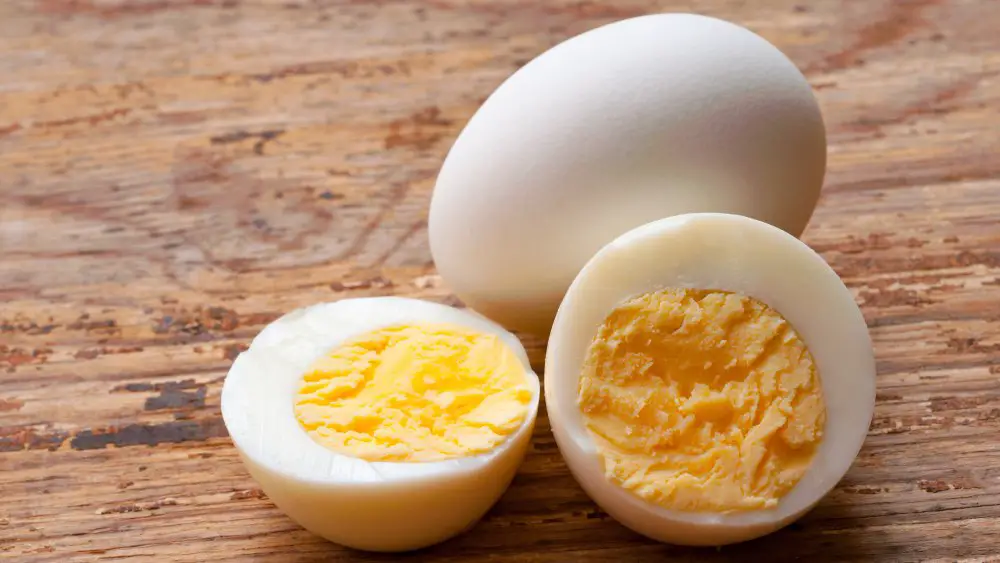
Every home cook has experienced it: you carefully prepare hard-boiled eggs for a salad or appetizer, follow what you believe to be the correct cooking instructions, and then discover an unsightly greenish-gray ring surrounding the yolk when you slice them open. This common culinary frustration affects both novice and experienced cooks, leaving many wondering whether they’ve used poor-quality eggs or made a fundamental cooking error.
The appearance of this discolored ring is not only visually unappealing but can also affect the taste of the eggs, often imparting a slightly sulfurous flavor that detracts from the clean, fresh taste that perfectly cooked hard-boiled eggs should possess. Understanding why this phenomenon occurs and learning how to prevent it is essential for anyone who wants to master this fundamental cooking technique.
The Chemistry Behind the Discoloration
The greenish ring that appears around hard-boiled egg yolks is not the result of using inferior eggs or making a cooking mistake in the traditional sense. Instead, it represents a specific chemical reaction that occurs when eggs are subjected to excessive heat or prolonged cooking times.
The Iron Sulfide Formation
The discoloration results from a reaction between iron present in the egg yolk and sulfur compounds found in the egg white. When eggs are overcooked or exposed to high temperatures for extended periods, hydrogen sulfide gas is released from the egg white. This gas then reacts with the iron in the yolk to form iron sulfide, a compound that appears as the characteristic gray-green ring at the interface between the white and yolk.
This chemical reaction is accelerated by several factors, including high cooking temperatures, prolonged exposure to heat, and the natural pH changes that occur in eggs as they age. The iron sulfide compound, while completely safe to consume, is visually unattractive and can impart an unpleasant sulfurous taste that masks the delicate flavor of properly cooked eggs.
Temperature and Time Factors
The formation of iron sulfide is directly related to both the temperature at which eggs are cooked and the duration of the cooking process. When eggs are boiled at a rolling boil for extended periods, the high heat accelerates the chemical reaction, making the green ring more likely to appear and more pronounced in color.
Additionally, eggs that are not cooled immediately after cooking continue to cook from residual heat, which can push the internal temperature high enough to trigger the iron sulfide formation even after the eggs have been removed from the heat source.
The Professional Method for Perfect Hard-Boiled Eggs
Achieving consistently perfect hard-boiled eggs requires understanding and controlling the variables that affect the cooking process. Professional chefs and culinary experts have developed techniques that minimize the risk of overcooking while ensuring that eggs are thoroughly cooked and safe to consume.
Step 1: Proper Setup and Cold Start
Begin by selecting a heavy-bottomed saucepan that can accommodate your eggs in a single layer without overcrowding. Overcrowding can lead to uneven cooking and makes it difficult to control the cooking process effectively.
Place the eggs in the pot and cover them with cold water, ensuring that the water level extends approximately 3 to 5 centimeters above the tops of the eggs. Starting with cold water allows the eggs to heat gradually and evenly, reducing the risk of cracking and ensuring uniform cooking throughout.
Step 2: Controlled Heating Process
Place the pot over medium heat rather than high heat. This gradual heating process is crucial for preventing the rapid temperature changes that can cause shells to crack and contribute to overcooking. Monitor the water carefully as it approaches the boiling point.
The moment the water reaches a full, rolling boil with large bubbles breaking the surface consistently, immediately remove the pot from the heat source or turn off the burner. This timing is critical for preventing overcooking and the subsequent formation of the green ring.
Step 3: Passive Cooking Method
Cover the pot immediately after removing it from heat to retain the hot water temperature. Allow the eggs to remain in the hot water for a carefully timed period based on your desired level of doneness:
- 9 minutes: For eggs with slightly soft, jammy yolks
- 10-11 minutes: For firm but creamy yolks
- 12 minutes: For completely firm yolks suitable for chopping or slicing
This passive cooking method, often called the “carryover cooking” technique, allows the eggs to finish cooking gently without exposure to the high temperatures that trigger iron sulfide formation.
Step 4: Immediate Cooling Process
While the eggs are cooking, prepare an ice bath by filling a large bowl with cold water and ice cubes. The moment the cooking time is complete, immediately transfer the eggs to the ice bath using a slotted spoon or tongs.
This rapid cooling process, known as “shocking,” serves multiple purposes: it immediately stops the cooking process, prevents overcooking from residual heat, helps prevent the green ring formation, and makes the eggs significantly easier to peel by causing the contents to contract slightly within the shell.
Step 5: Proper Peeling Technique
Allow the eggs to remain in the ice bath for at least 5 minutes to ensure they are thoroughly cooled. When ready to peel, remove each egg from the ice bath and gently tap it all over to create small cracks in the shell.
Peel the eggs under running cold water, starting at the larger end where the air pocket is located. The cold water helps separate the membrane from the egg white, making peeling easier and reducing the likelihood of removing chunks of white along with the shell.
Professional Tips for Optimal Results
Egg Selection and Age
Contrary to popular belief, very fresh eggs are actually more difficult to peel when hard-boiled. Eggs that are 5 to 7 days old are ideal for hard-boiling, as the pH of the egg white changes over time, making the membrane less likely to stick to the cooked white.
If you only have very fresh eggs available, you can still achieve good results by being extra careful during the peeling process and ensuring that you use the ice bath method to facilitate easier shell removal.
Water Additives
Adding a teaspoon of salt or a tablespoon of white vinegar to the cooking water can help prevent shells from cracking during the cooking process. The vinegar slightly acidifies the water, which can help denature proteins more gently, while salt may help seal small cracks that develop during cooking.
Some chefs also add a teaspoon of baking soda to the water, which raises the pH and can make older eggs easier to peel by further loosening the shell membrane.
Storage and Food Safety
Properly cooked hard-boiled eggs can be stored in their shells in the refrigerator for up to one week. Keep them in the main body of the refrigerator rather than the door, where temperature fluctuations are more common.
Once peeled, hard-boiled eggs should be consumed within 2 to 3 days for optimal quality and food safety. Store peeled eggs in a covered container in the refrigerator to prevent them from absorbing odors and to maintain moisture.
Troubleshooting Common Problems
Cracked Shells During Cooking
If shells crack during cooking, the eggs are still safe to eat, though they may have an irregular appearance. To minimize cracking, ensure eggs are at room temperature before cooking, use the gradual heating method, and avoid dropping eggs into already-boiling water.
Difficult Peeling
If eggs are difficult to peel despite following proper techniques, they may be too fresh or not cooled sufficiently. Ensure adequate cooling time in the ice bath and try peeling under running water to help separate stubborn membrane pieces.
Uneven Cooking
Uneven cooking typically results from overcrowding the pot or using eggs of significantly different sizes. Cook eggs of similar size together and ensure adequate space in the cooking vessel.
The Science of Timing and Temperature Control
Understanding the relationship between time, temperature, and egg protein coagulation is key to mastering hard-boiled eggs. Egg proteins begin to coagulate at relatively low temperatures, but the rate of coagulation increases dramatically with higher heat.
The white of an egg sets at approximately 140°F (60°C), while the yolk firms up at around 158°F (70°C). By controlling the heating process and using residual heat for final cooking, you can ensure that both components reach their target temperatures without overshooting into the range where iron sulfide formation becomes likely.
Professional Kitchen Standards
In professional kitchens, hard-boiled eggs are often prepared in large batches using precisely controlled timing and temperature methods. Many restaurants use steam injection ovens or immersion circulators to maintain exact temperatures, but the fundamental principles remain the same: gentle heating, controlled timing, and immediate cooling.
Nutritional Considerations
Properly cooked hard-boiled eggs retain their full nutritional value while being easier to digest than raw eggs. The cooking process makes proteins more bioavailable while destroying any potentially harmful bacteria that might be present.
Overcooked eggs with green rings are still nutritionally equivalent to properly cooked eggs, but the iron sulfide formation can reduce the bioavailability of some minerals and create compounds that may interfere with nutrient absorption.
Conclusion: Mastering the Fundamentals
Creating perfect hard-boiled eggs consistently requires understanding the science behind the cooking process and applying proven techniques that control the variables affecting the outcome. The key to preventing the green ring lies in avoiding overcooking through careful temperature and time management, followed by immediate cooling to stop the cooking process.
By following the professional methods outlined in this guide—starting with cold water, using medium heat, timing carefully, and cooling immediately—you can achieve consistently perfect results that are both visually appealing and delicious. The investment in learning proper technique pays dividends in improved flavor, appearance, and the satisfaction of mastering a fundamental cooking skill.
Remember that cooking is both an art and a science, and understanding the chemistry behind what happens in your kitchen empowers you to achieve better results and troubleshoot problems when they arise. With practice and attention to detail, perfect hard-boiled eggs can become a reliable foundation for countless dishes, from simple salads to elegant appetizers.
Mastering the art of hard-boiled eggs demonstrates how understanding basic food science principles can dramatically improve cooking results and eliminate common kitchen frustrations.

Sophia Rivers is an experienced News Content Editor with a sharp eye for detail and a passion for delivering accurate and engaging news stories. At TheArchivists, she specializes in curating, editing, and presenting news content that informs and resonates with a global audience.
Sophia holds a degree in Journalism from the University of Toronto, where she developed her skills in news reporting, media ethics, and digital journalism. Her expertise lies in identifying key stories, crafting compelling narratives, and ensuring journalistic integrity in every piece she edits.
Known for her precision and dedication to the truth, Sophia thrives in the fast-paced world of news editing. At TheArchivists, she focuses on producing high-quality news content that keeps readers informed while maintaining a balanced and insightful perspective.
With a commitment to delivering impactful journalism, Sophia is passionate about bringing clarity to complex issues and amplifying voices that matter. Her work reflects her belief in the power of news to shape conversations and inspire change.